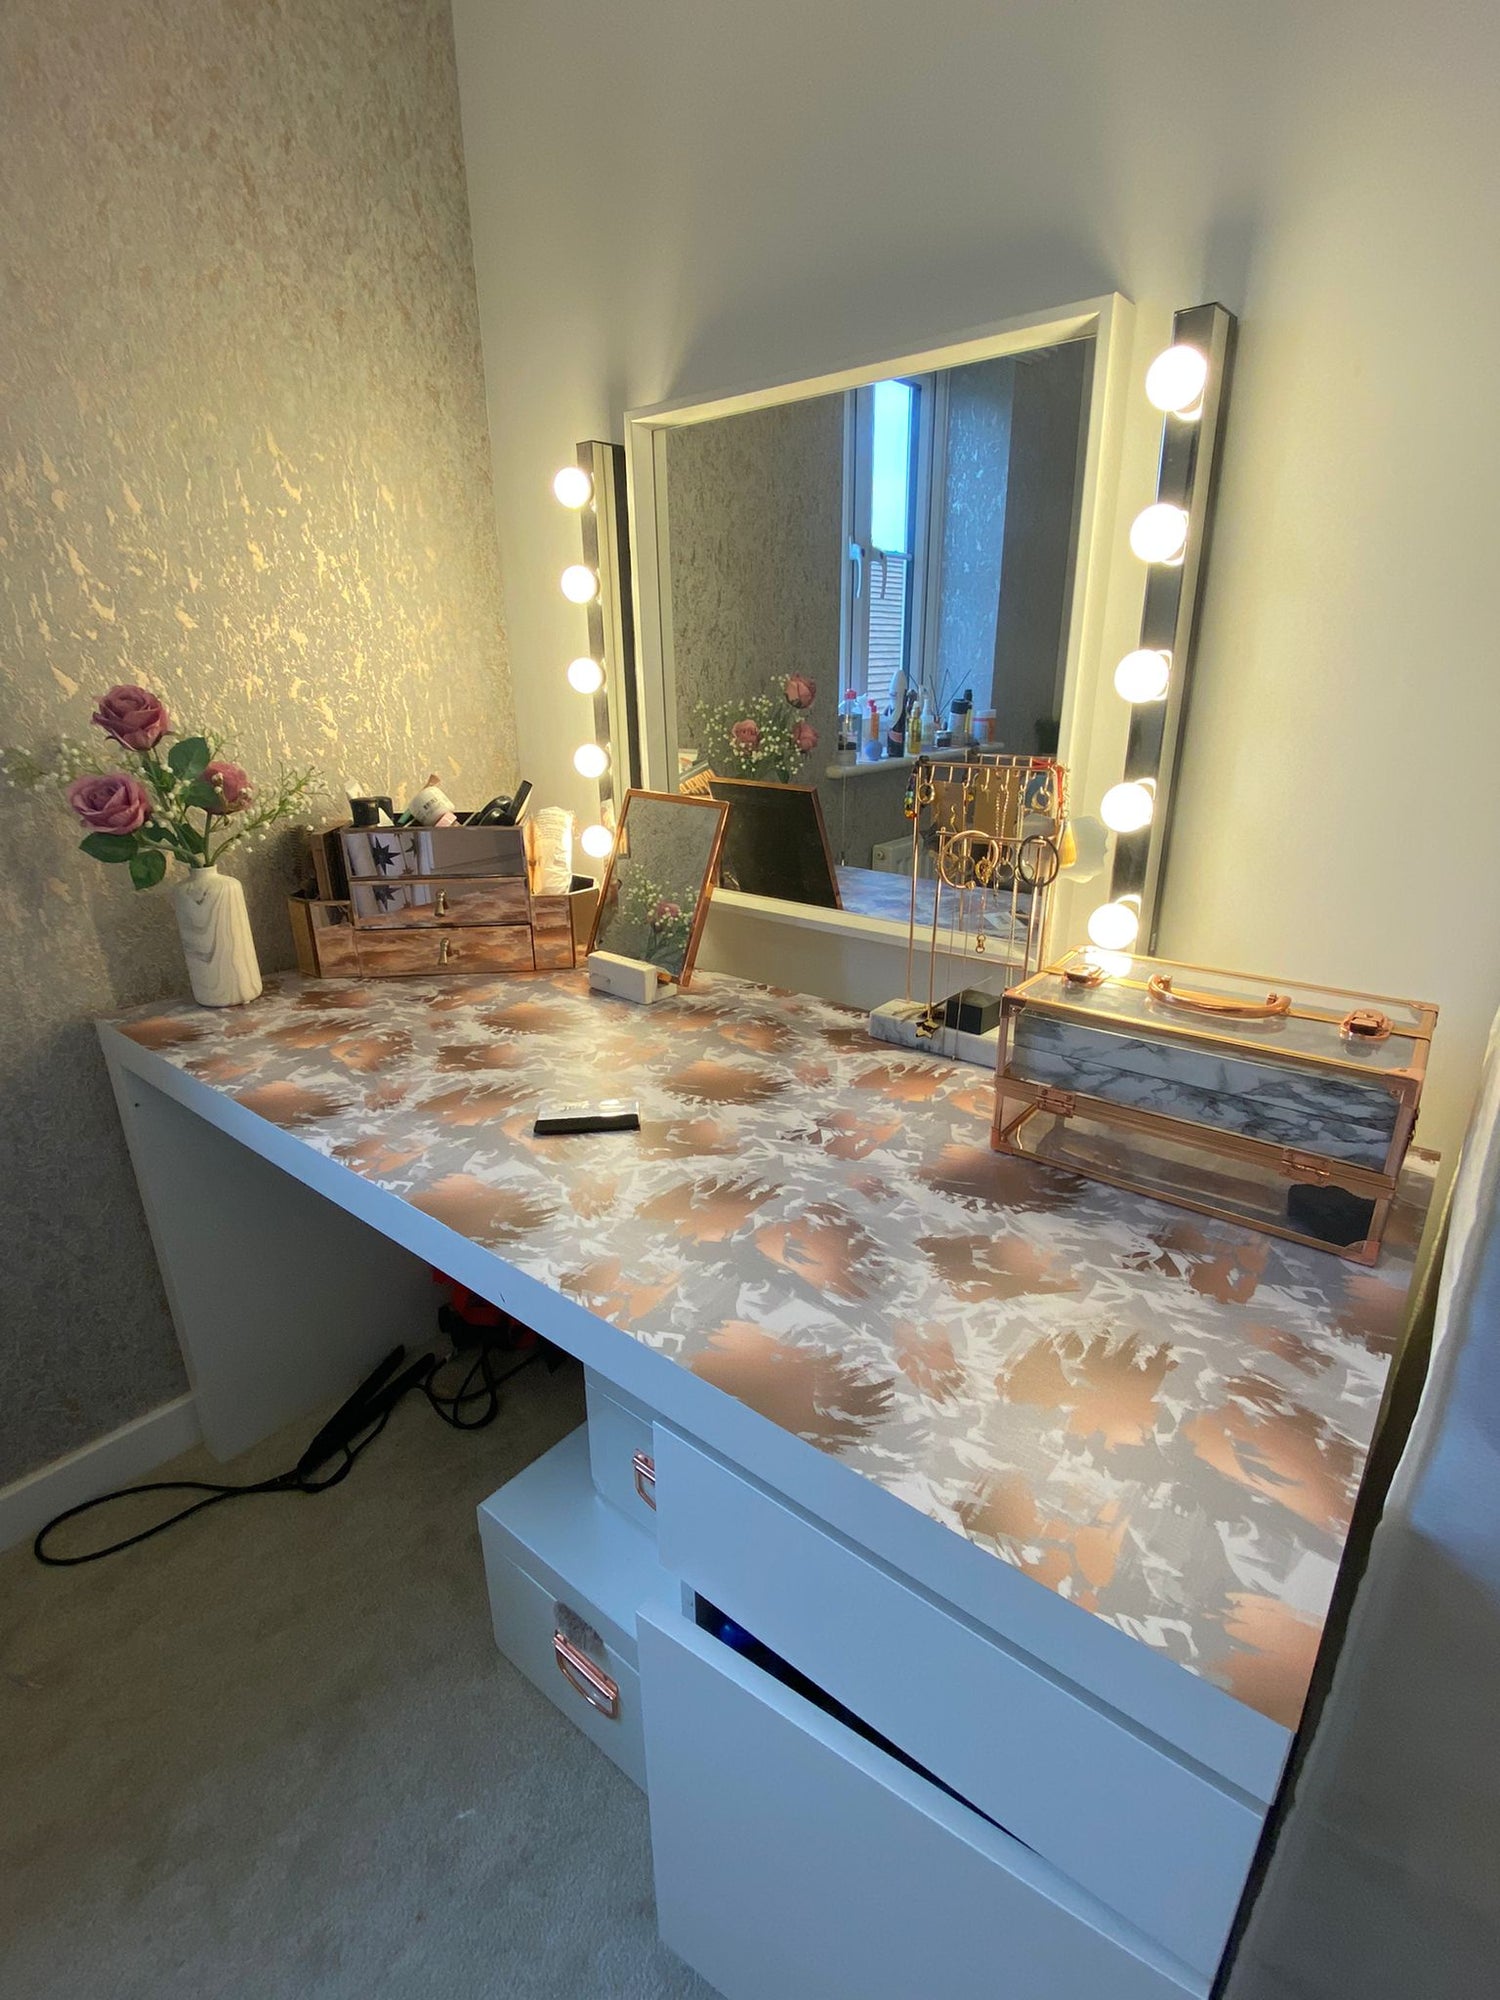
Desk Tutorial

Step 1- Samples
Step 1 - Purchase samples of your favourite designs & test them on your particular area to make sure the vinyl is suitable!
Our standard vinyl is heat resistant up to 85 degrees & our floor & wall vinyl is heat resistant up to 110 degrees. All our vinyl is non flammable. If the vinyl gets hotter than the degrees stated the vinyl may warp & become unstuck.
IF you would like to stick our vinyl to a painted surface or varnished surface please make sure your paint type works with the vinyl, some paint types are made to be wipeable & will repel the vinyl. We suggest applying a sample to a discreet area & seeing how well it lasts over a period of time before purchasing the amount for your desk.
Please keep in mind when applying vinyl to painted surface or varnished surfaces the vinyl may remove this upon removal.

Step 2 - Measuring
Once you have tested your samples & chosen your design you will need to measure your area.
Our 2m x 65 cm size will fit most standard desks but always measure first to be sure!
If your area is an awkward size you can request a custom size from us.
To measure - calculate the width x length in CM.
You can also add on a few CM's each way to make sure you have enough to work with.

Step 3- Application
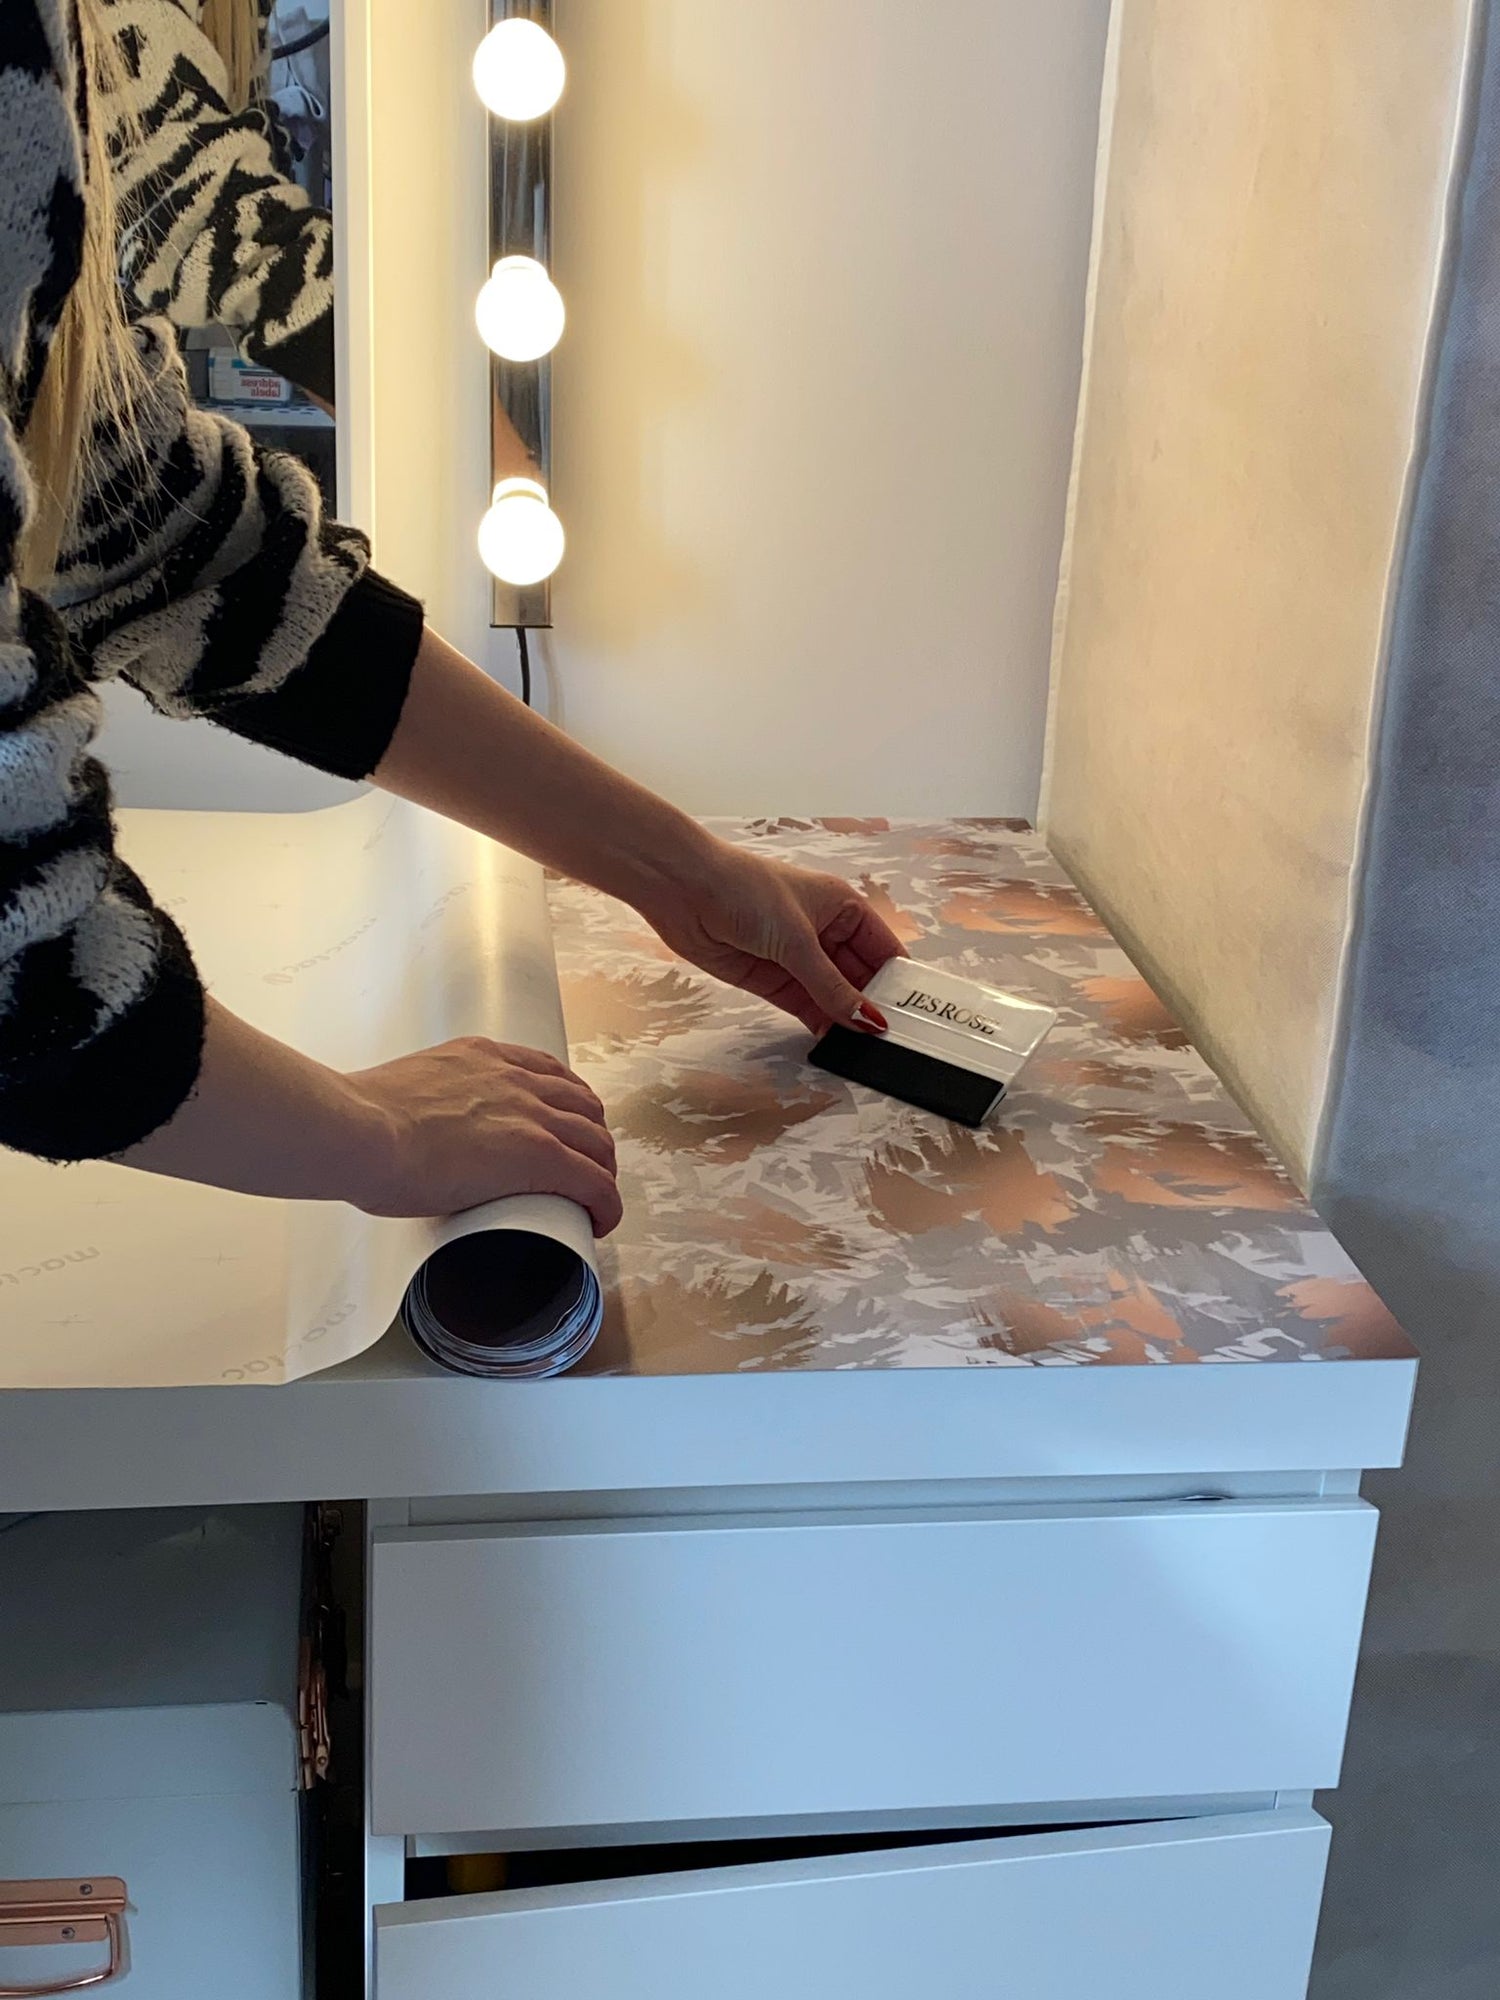
When it comes to applying your vinyl the trick is to apply small amounts at a time.
We suggest peeling no more than 2/3cm back first & then sticking the vinyl into place using your squeegee, by doing this you can make sure its on straight.
Next you just need to slowly keep peeling 2/3 cm of the backing paper off & sticking down.
If the vinyl isnt straight you can peel & re apply it.
If you are looking to apply vinyl to raw surfaces like wood we advise priming/varnishing the area first. This will create almost a glossy finish and the vinyl should bond to it much better! If your surface isnt wood or concrete but has a rough/ almost dry feel to it then a primer will come in handy!

Step 4- Continue applying..
Continue repeating step 3 until your desk is finished!
IF you experience any air bubbles forming or creases you can peel back the vinyl and re apply it with your squeegee.
If you finish & still find some air bubbles simply pierce the top of the bubble with a sharp pin and use your squeegee to gently go around the air bubble pushing all air out of the hole you made.

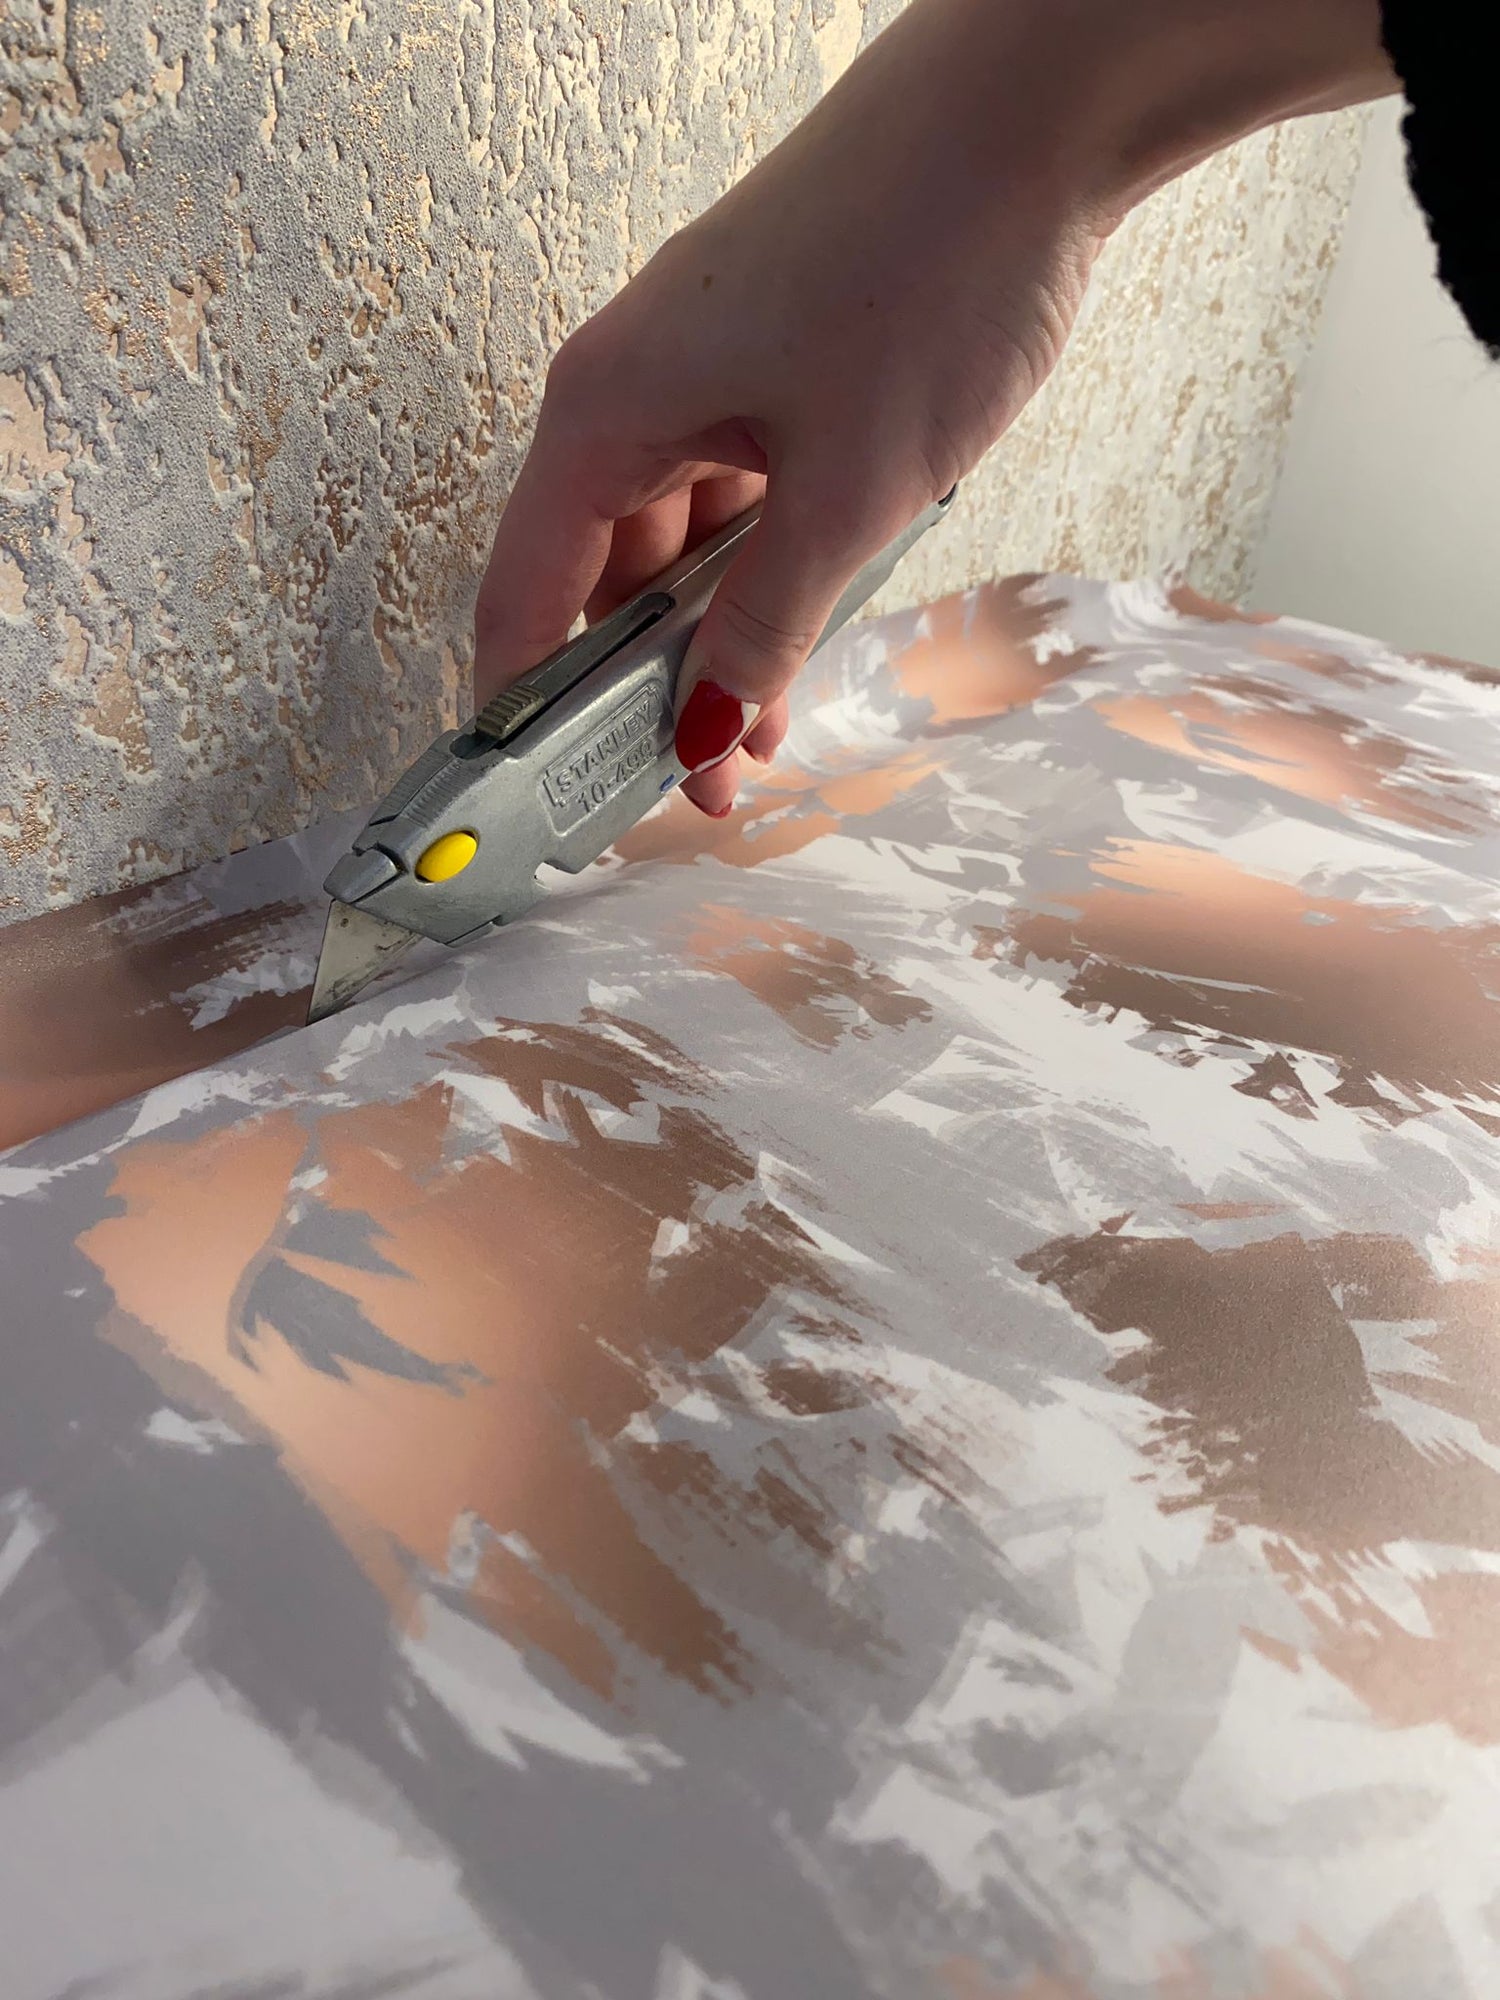
Step 5- Trimming any excess.
The final step for your new desk is to trim any excess vinyl off.
Simply use a sharp blade to remove any overhang not needed.
Once you have done this your new splash back is ready & complete!
If you would still like more help you can contact us hello@jesrose.co.uk or watch some of our video tutorials!
