
Peel & Stick Tiles - Removing

Lets get started....
Here you will find all the information you need before going ahead and removing your peel & stick tiles. We have broken down each step so you can remove your tiles with ease.
Please keep in mind if you are removing the tiles from raw materials, varnished or painted surfaces the tiles adhesive may damage this upon removal.
Top Tip- Before you begin, make sure you have a hairdryer near by as this will help warm the adhesive up and make the tiles flexable which helps with removal.
Top Tip- Keep the backing paper when you apply them, our peel & stick tiles are reusable and can be stuck back onto the paper and stored away to be used again with our adhesive strips.
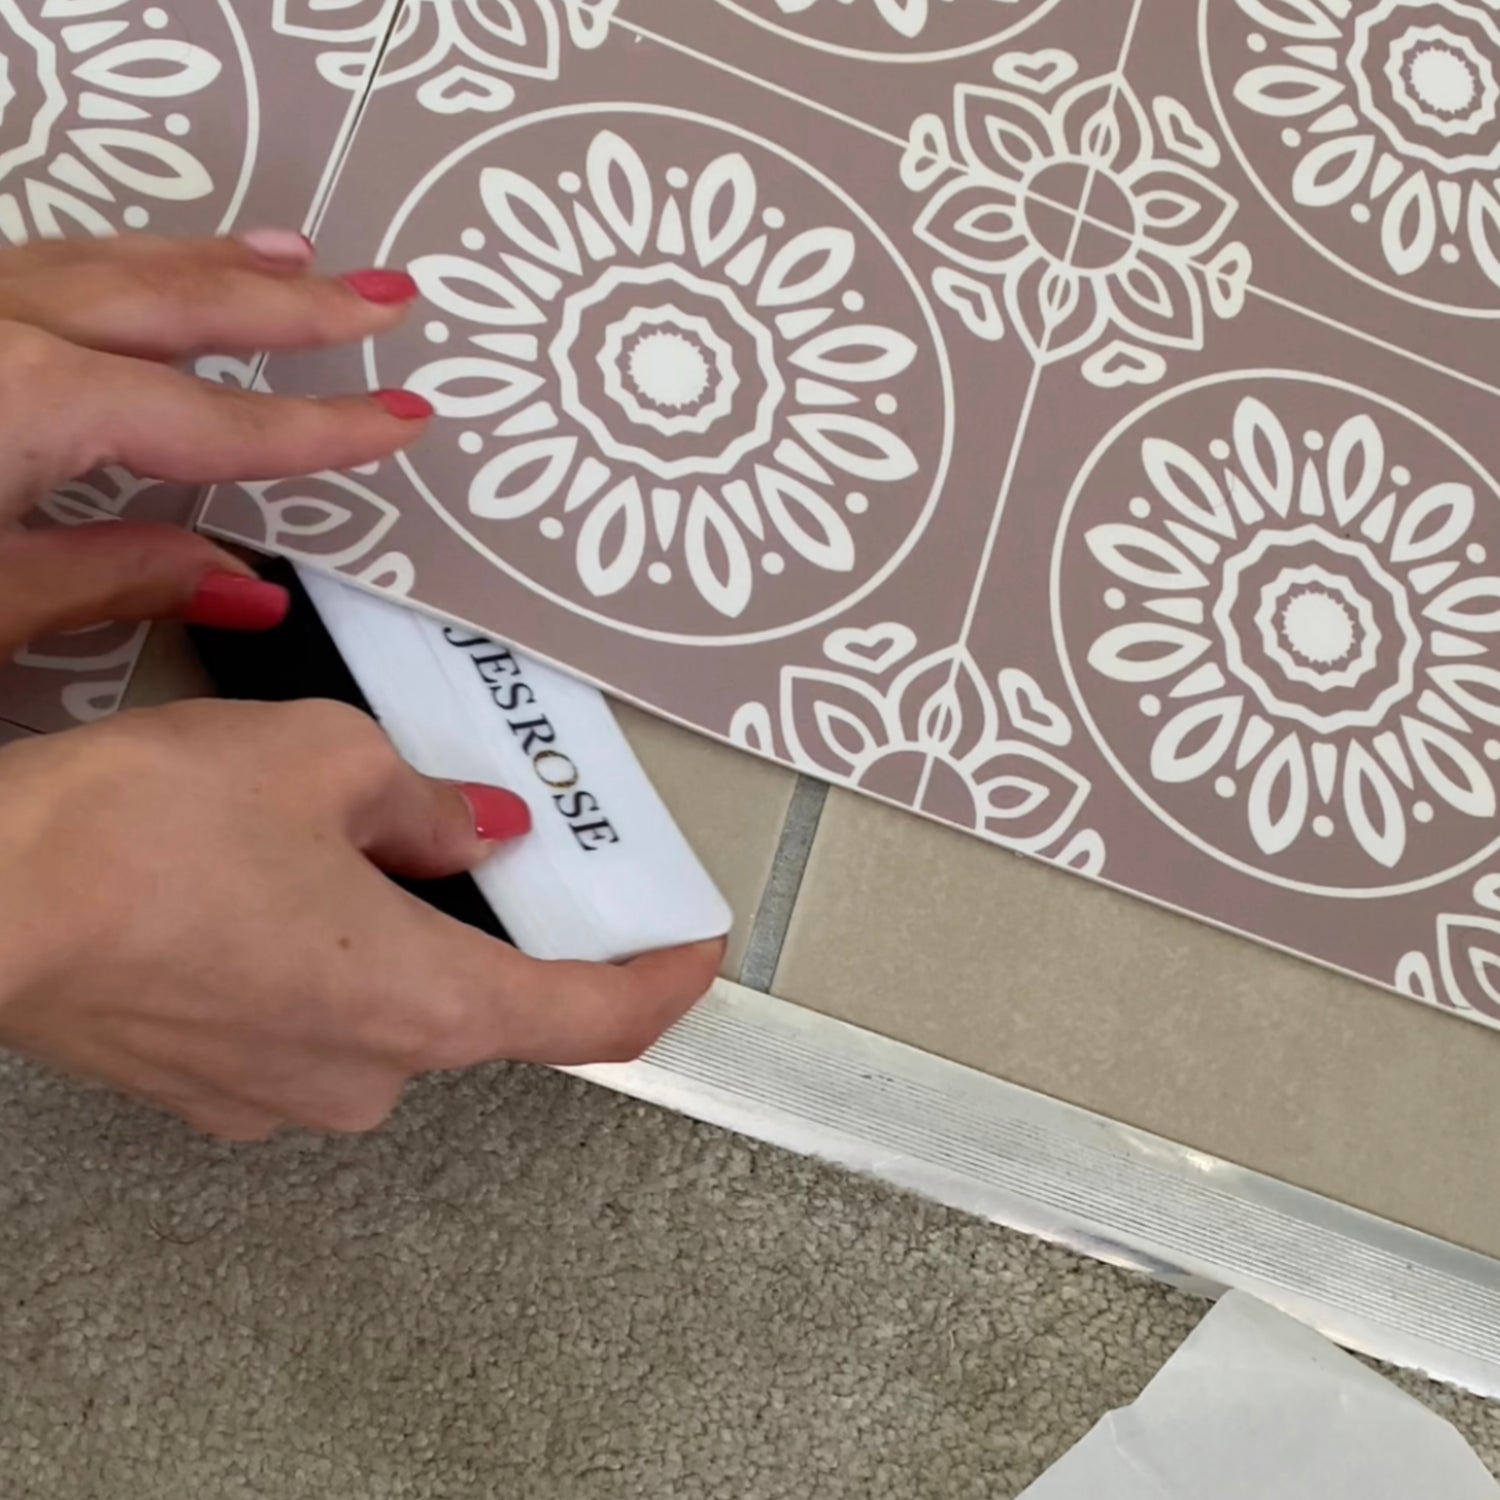
Easing the tiles up...
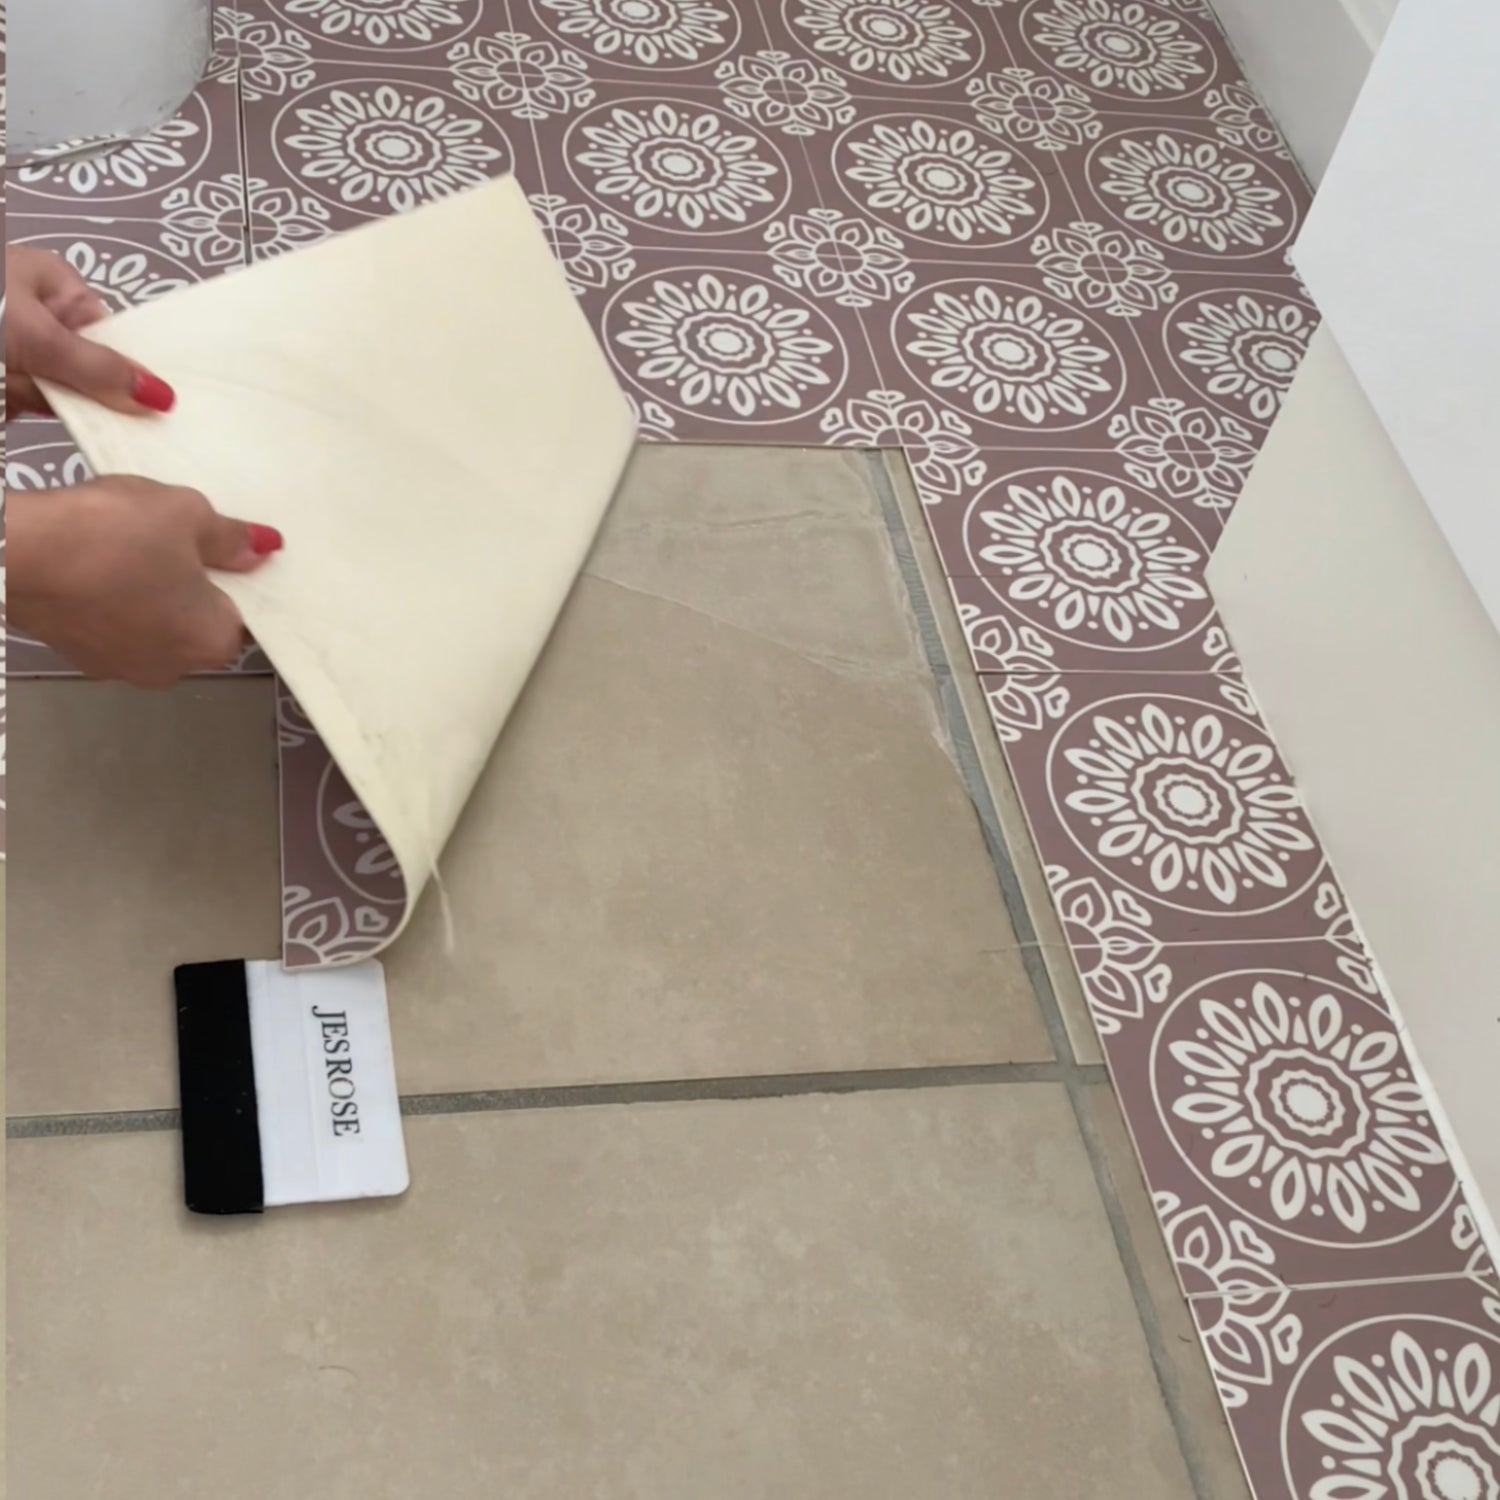
Before you begin ensure you have a squeegee or a thin tool which can be slotted underneath the tiles to ease them up from the floor. Run the tool underneath, along the edge of the tile so you have room to get under the tile to begin peeling it up. If you are planning to reuse your tiles ensure they have been warmed up before removing to avoid damaging the tiles.
Top Tip- To make the process easier make sure you also peel up a corner of the adhesive sheet under the tile.
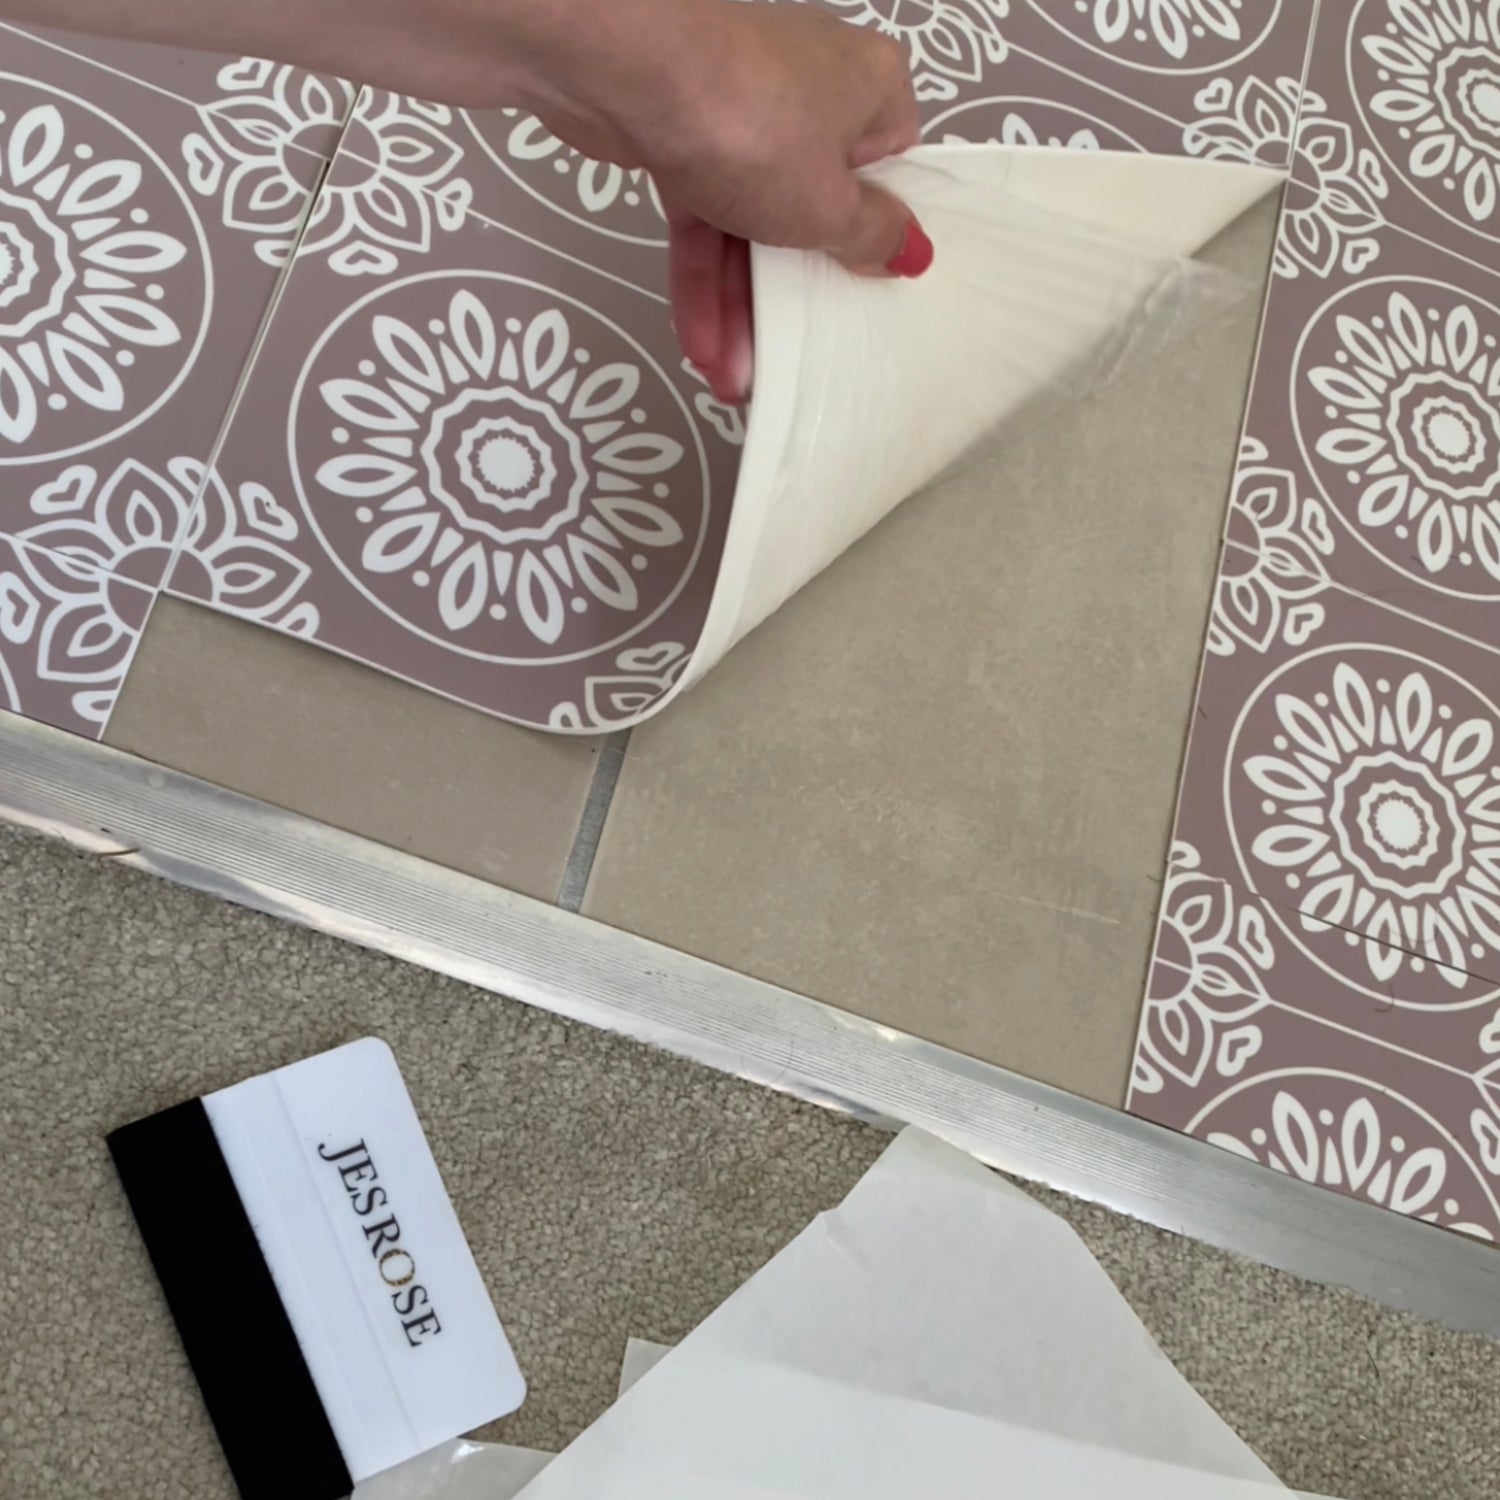
The first peel...
Once you have eased up one side of the tile and got hold of both the underlay adhesive sheet and tile you can begin peeling.
You can see the two seprate layers in this photo here, the tile and the adhesive sheet. Removing these together as one will save you needing as many adhesive strips if you are planning to reuse them and makes the process quicker.
Planning on reusing?...
Once the first tile is removed you can now apply the backing paper you have kept to the tile. Now you can store the tiles saved away & reuse them in the future using our adhesive strips.
Top Tip- Use your squeegee to really get the backing paper stuck back onto the tile. This will stop the adesive drying out.
Top Tip- If you dont have the origional backing paper parchement paper or similar works great.
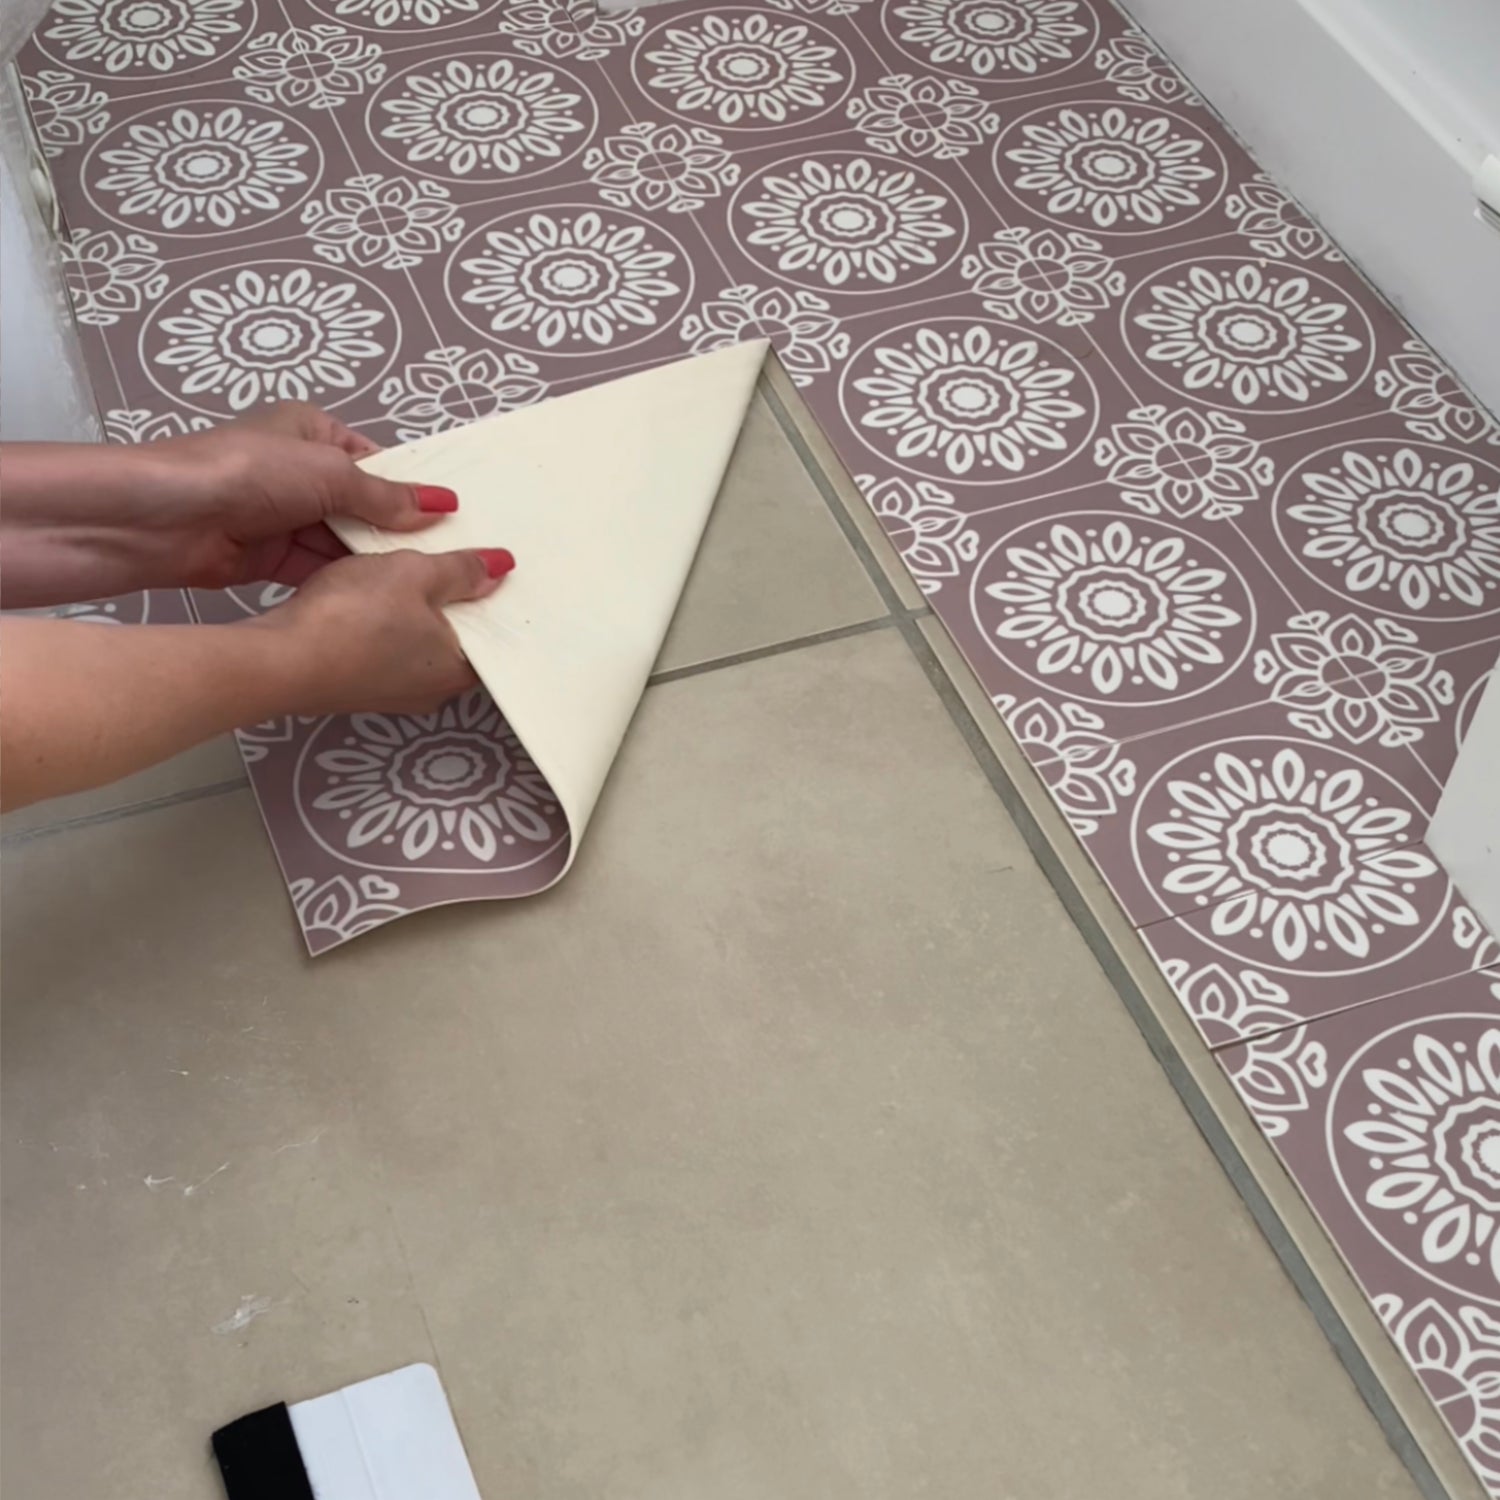
Continue the process...
Now you have removed the first one repeat the process and continue removing.
Top Tip- If the tiles are cold they may be harder to remove. A hairdryer comes in really handy beforehand to warm up the tiles which makes them more flexible and the adhesive will come up easier.
The adhesive sheet stayed on the floor, what do i do?...
If you didnt manage to remove the adhesive sheet with the tile it is nothing to worry about. By us designing the tiles with an adhesive sheet rather than loose glue this makes the removal process much easier and saves lots of scrubbing.
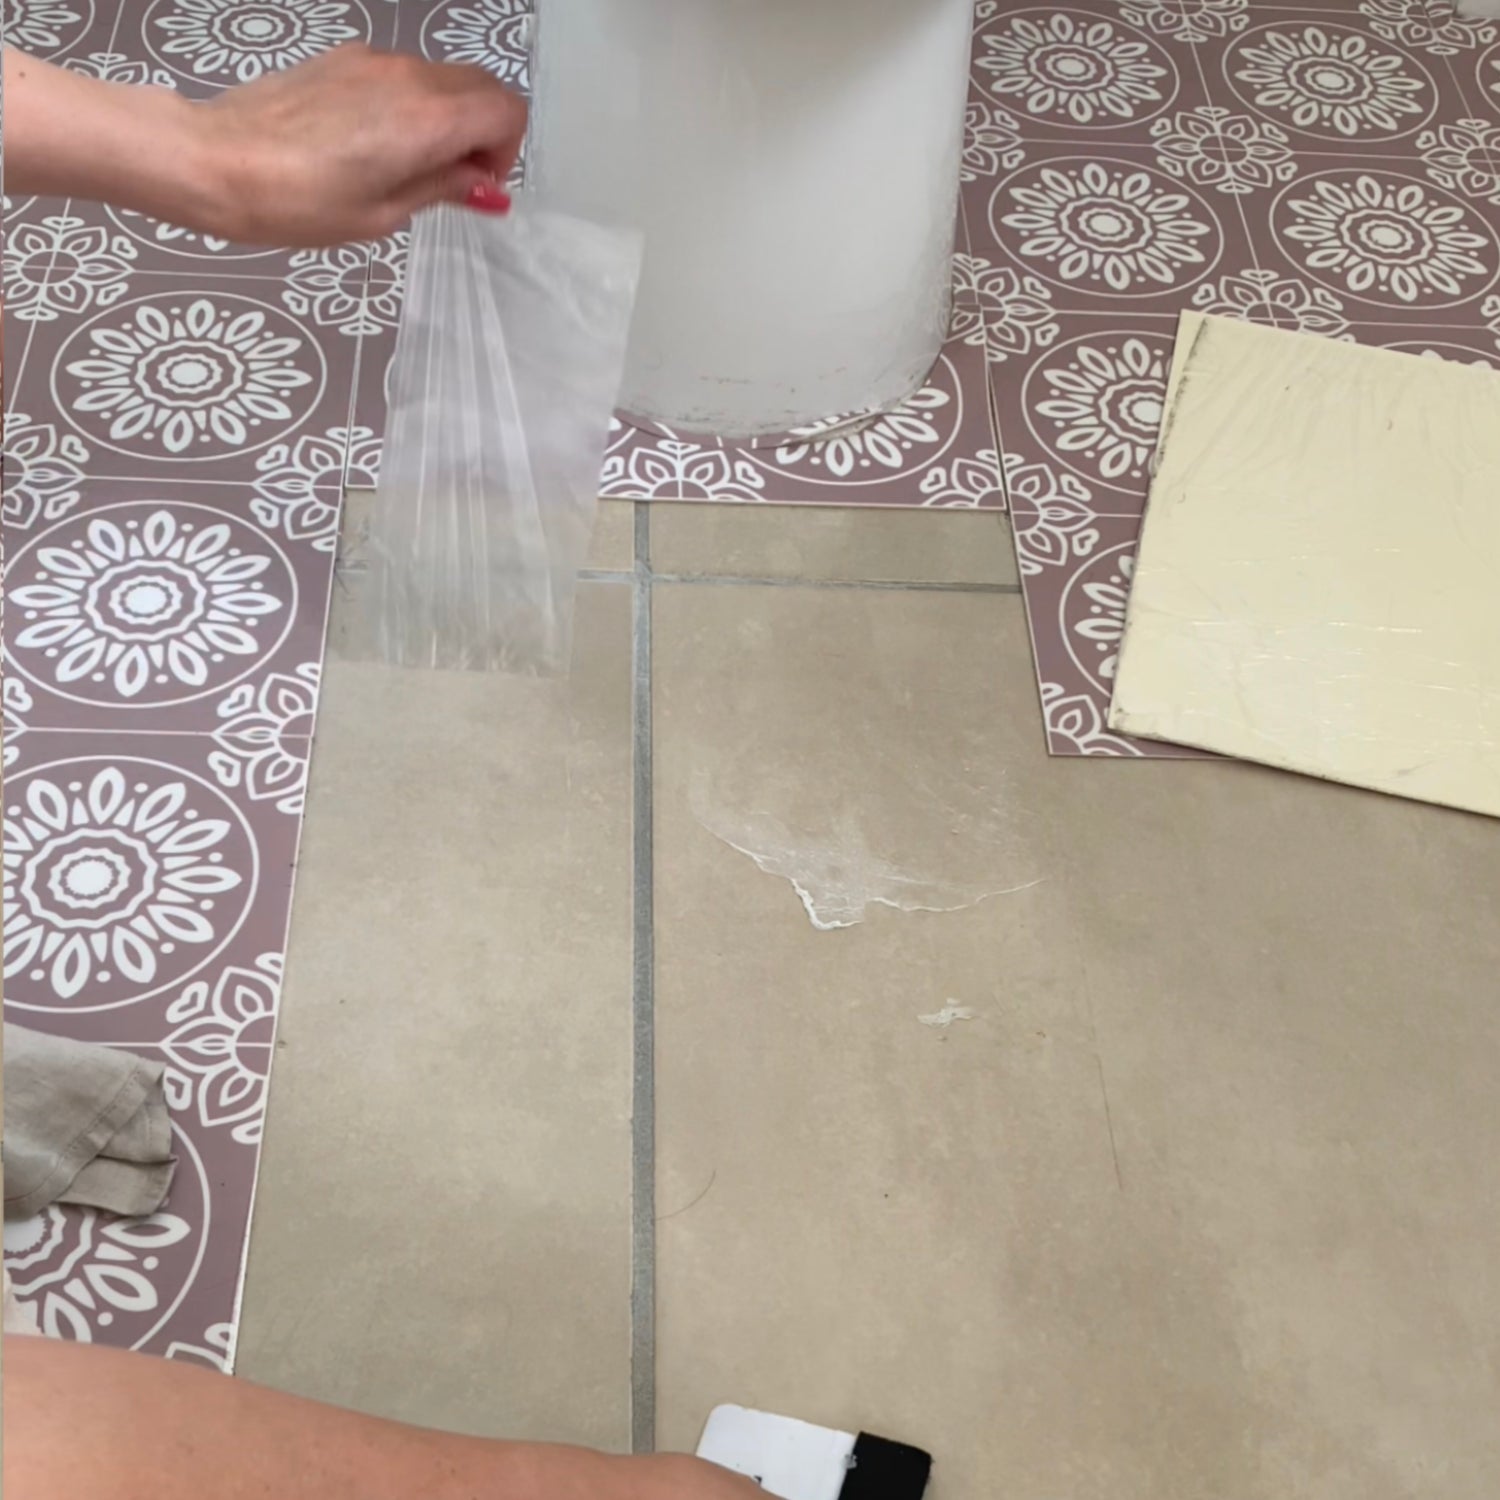
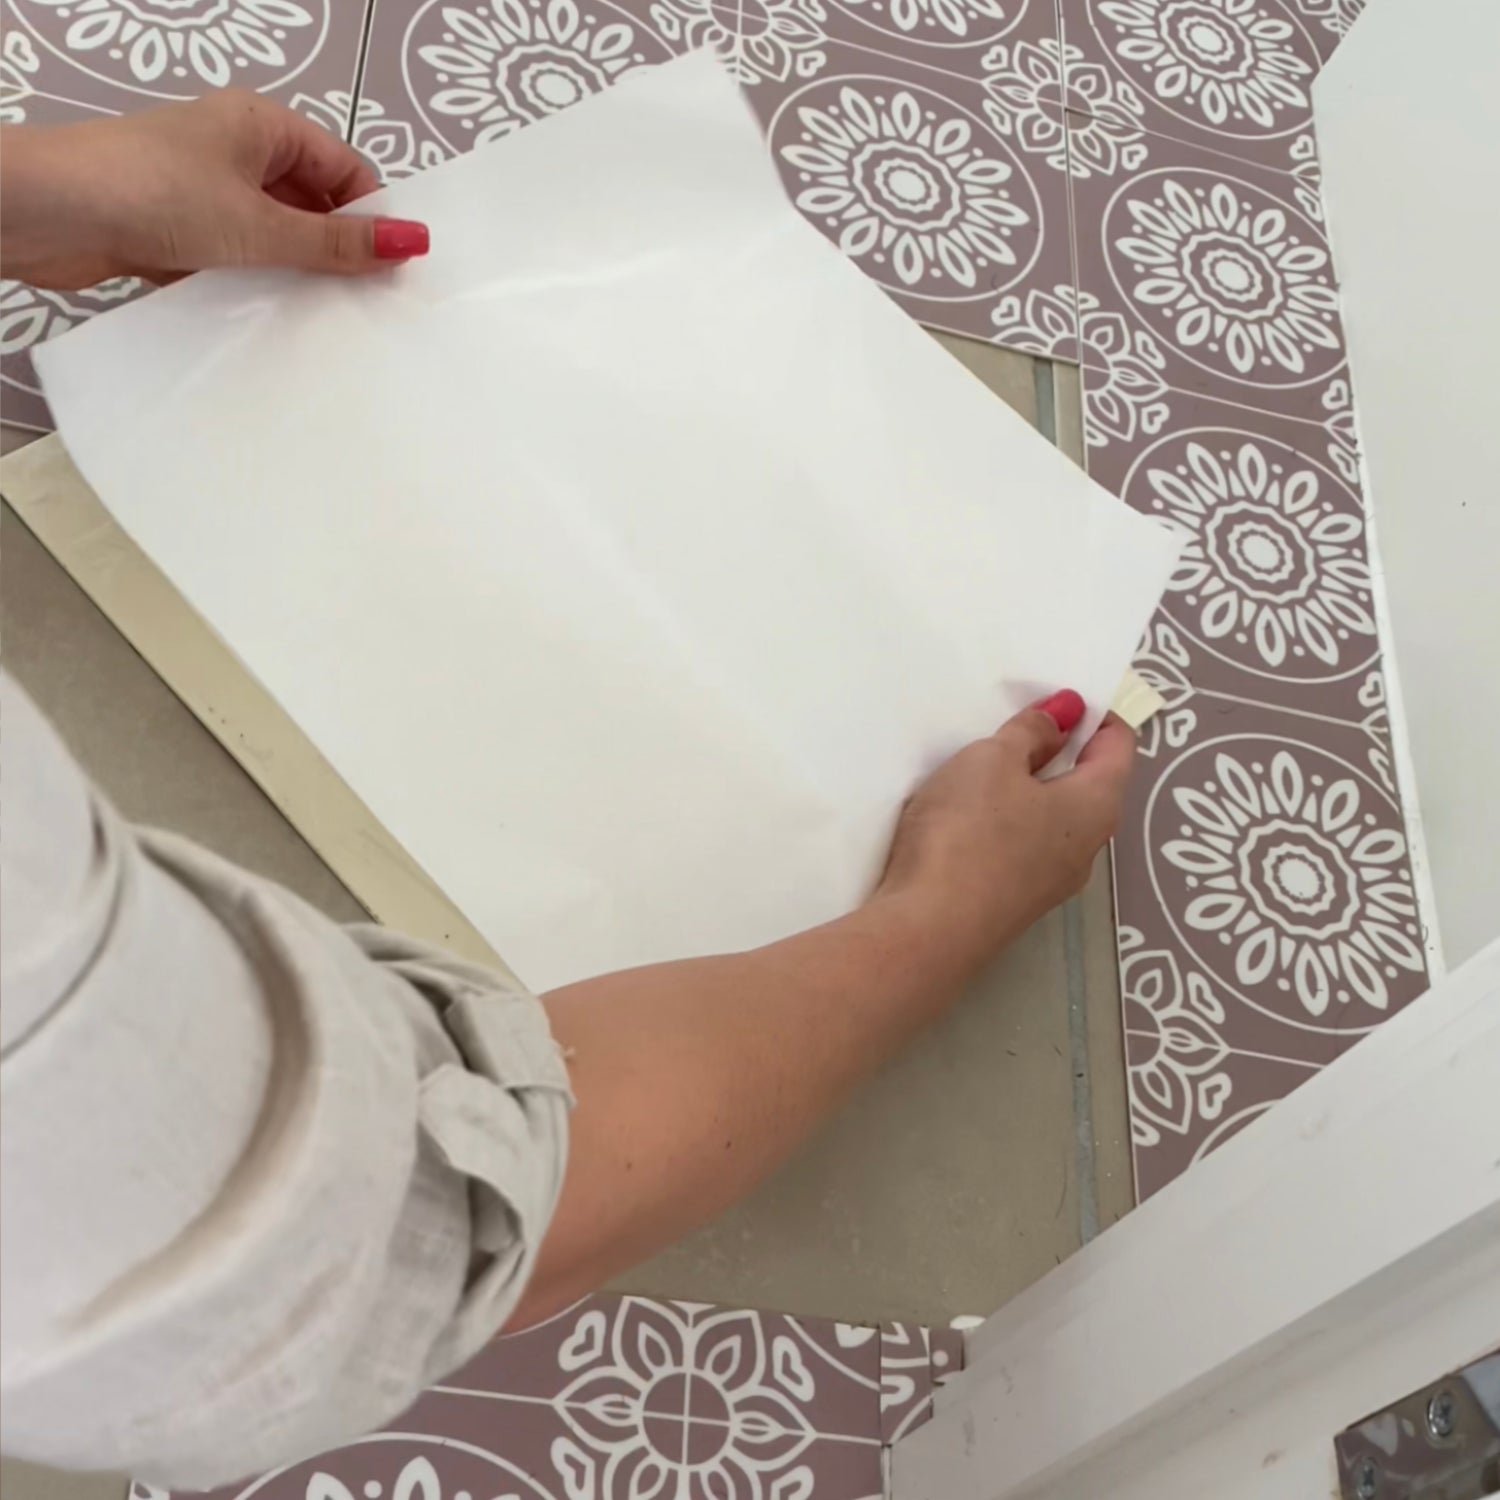
Removing adhesive sheets...
If you have any adhesive sheets left behind once you remove your tiles the area does not need to be scrubbed, it is super easy to remove. Just like the tiles use your thin tool to peel up one corner of the sheet. Once you are able to get a grip of it simply just peel it off as this photo demonstrates.
If there are any little parts of adhesive left behind leave it for now, we will get to the final clear up soon.
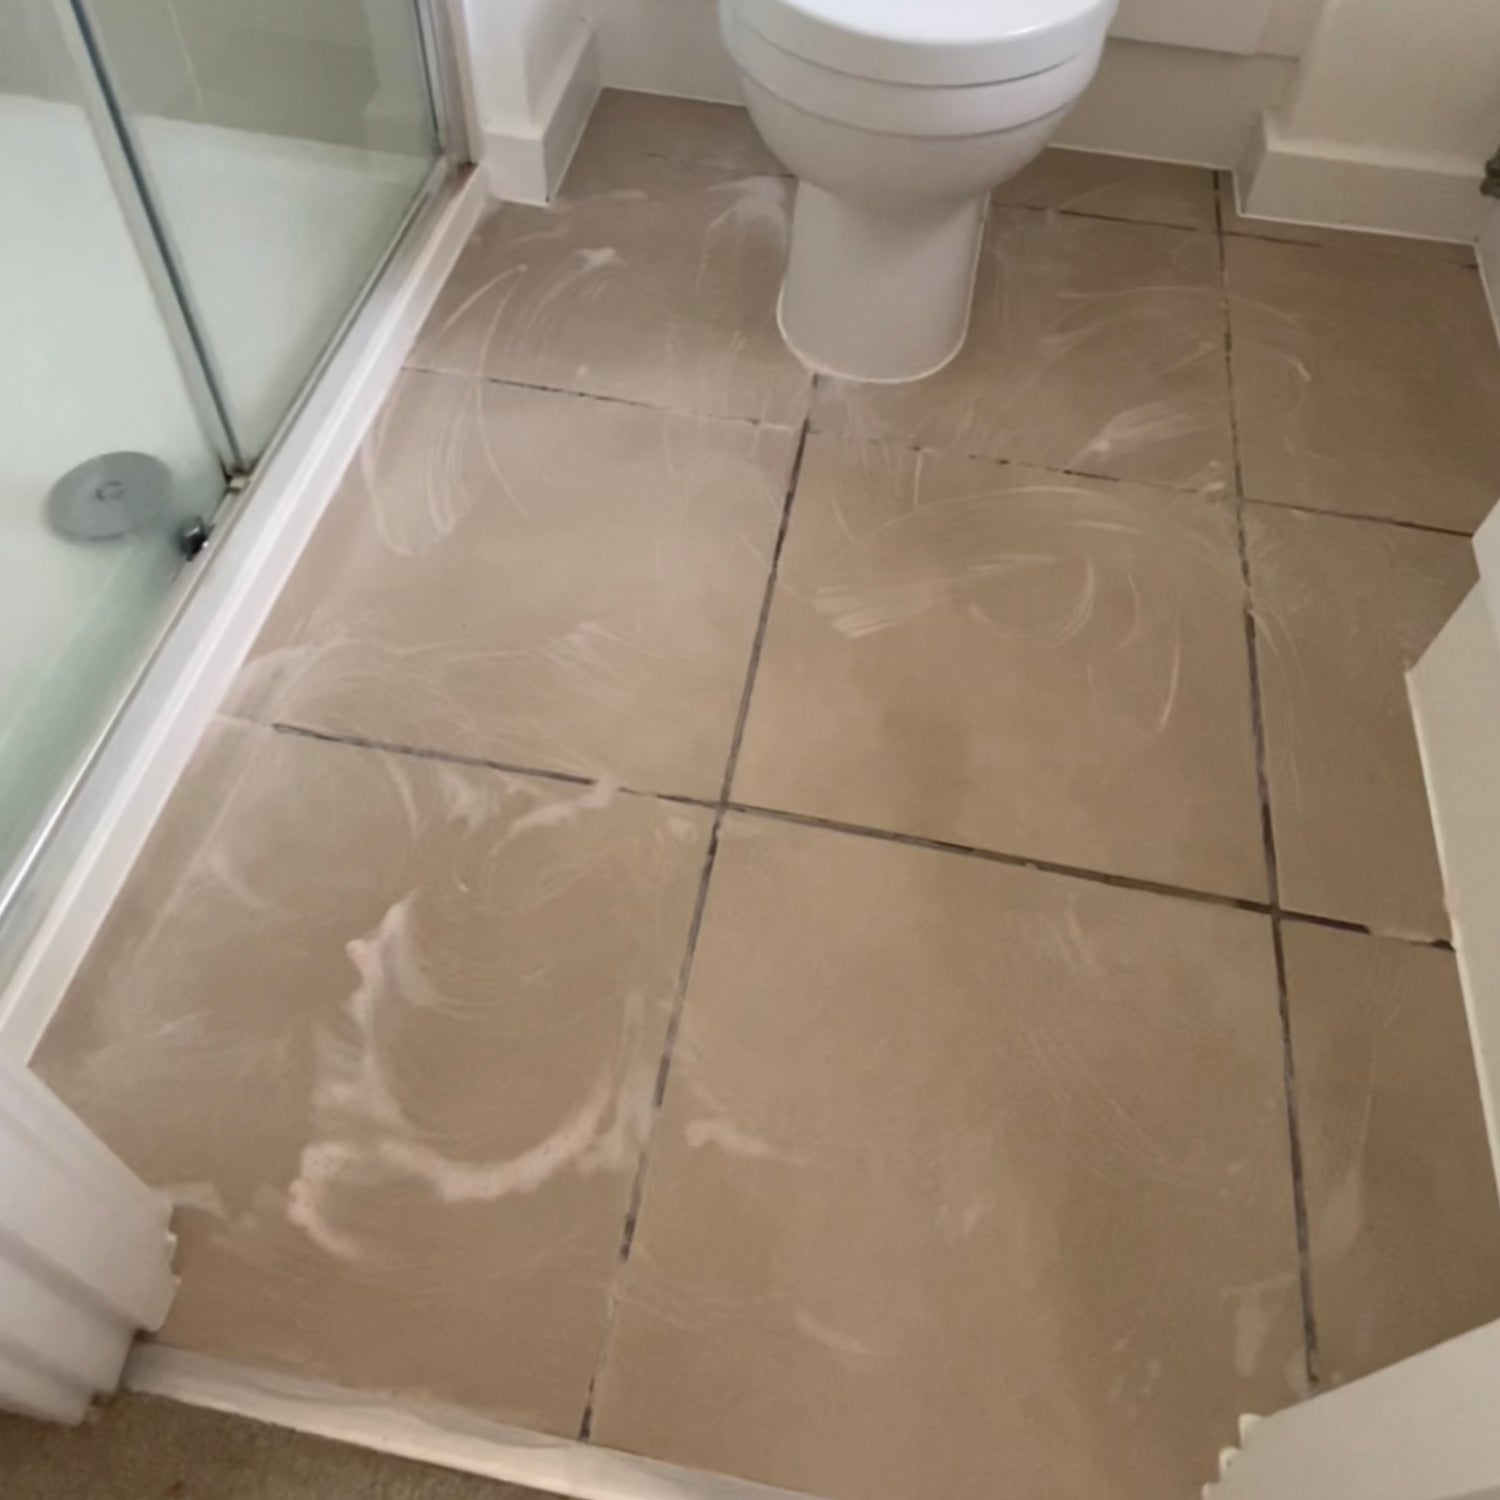
The final clean...
Now all of your tiles are removed & any left behind adhesive sheets have been peeled off all that is left in the removal process is to apply a layer of warm soapy water to your flooring & leave it to sit for 10 minutes. This will break down any adhesive left on the floor that may not be visable.
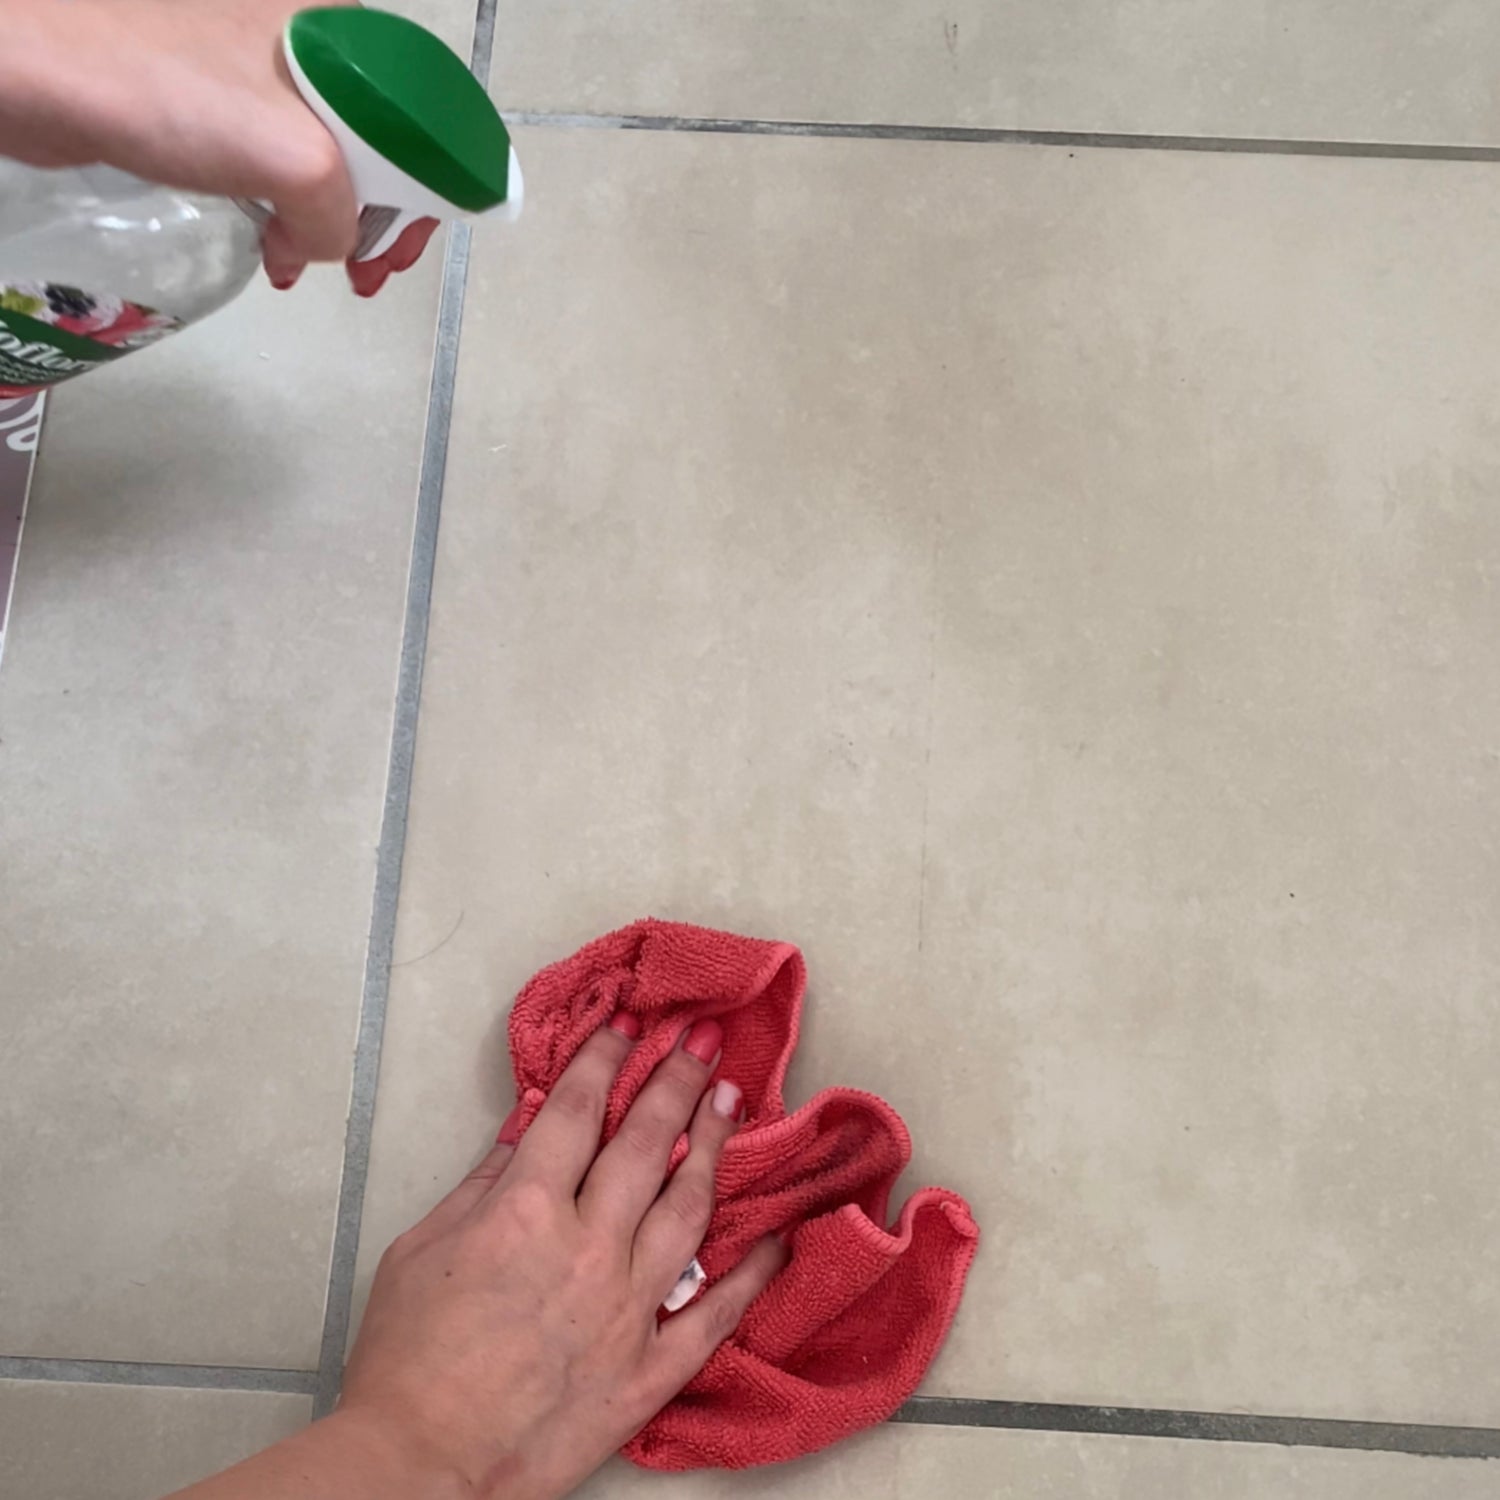
Wipe it down...
After the warm soapy water has sat on your flooring for 10 minutes you can now go ahead and begin wiping it over.
This is a really great way to get rid of any adhesive hanging around!
Good as new!...
And there you have it....your original surface is back!