Shower Tutorial

Step 1- Samples
Purchase samples of your favourite designs & test them on your particular area to make sure the vinyl is suitable & sticks well over time. You could keep them applied for a few weeks worth of showers to be certain the vinyl will work in your shower.
There are 1000s of different tiles / walls out there so samples are great to test on your particular surface.
You can also make sure the vinyl sticks well to your surface by trying samples first! Some paint types contain additves which will repel the vinyl, testing samples is key to ensure your paint type bonds with our vinyl!
With samples you can see with each design how visible your grout lines or any imperfections will be. The busier the design the more it will mask any imperfections underneath.
Please keep in mind when applying vinyl to painted surfaces or varnished surfaces the vinyl may remove this upon removal.
Step 2 - Measuring
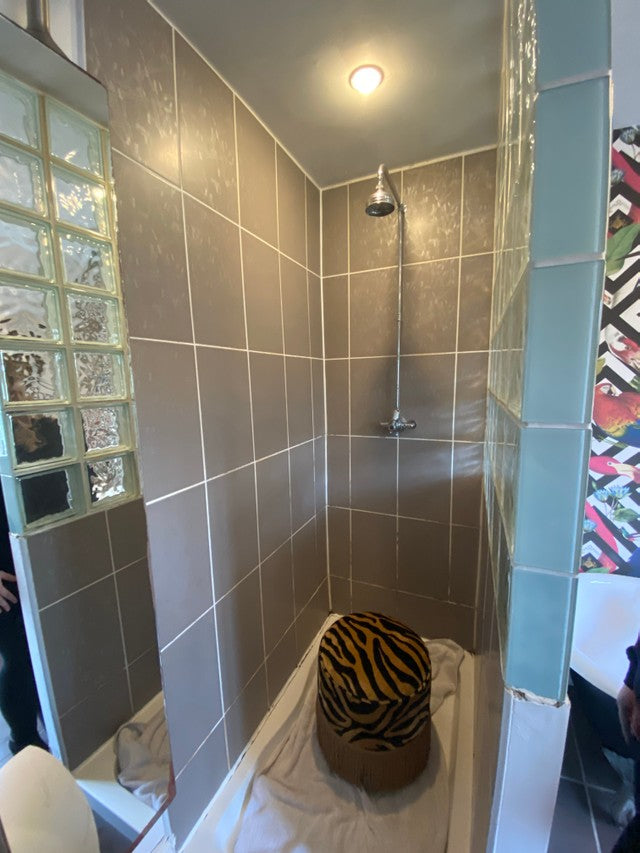
Once you have tested your samples, ensured the vinyl is suitable & chosen your design you will need to measure your area.
If your area is an awkward size you can request a custom size from us.
To measure - calculate the width x length in CM for each shower wall.
We would recommend to add on a few CM's each way to make sure you have enough to work with & if you need to patch up any areas around the shower parts you have extra.
Step 3- Application
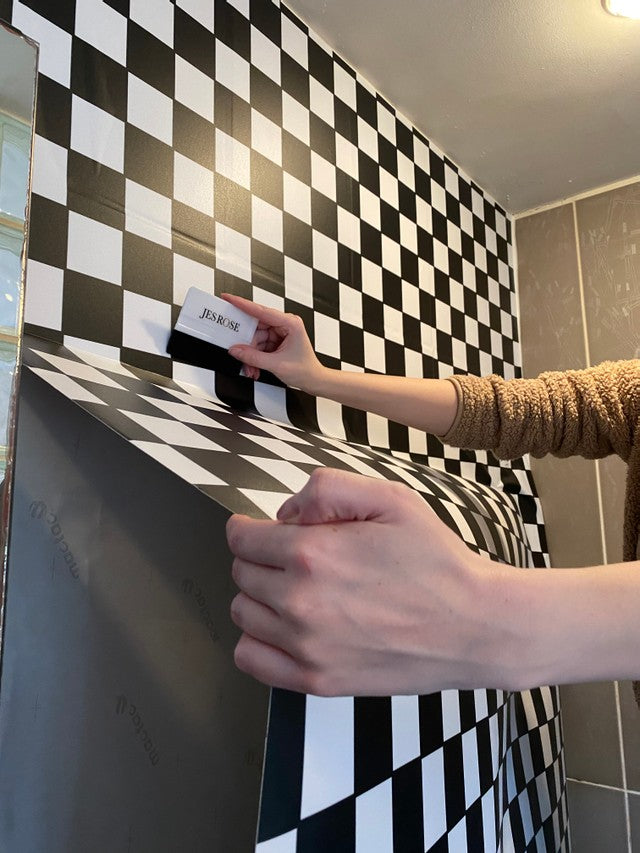
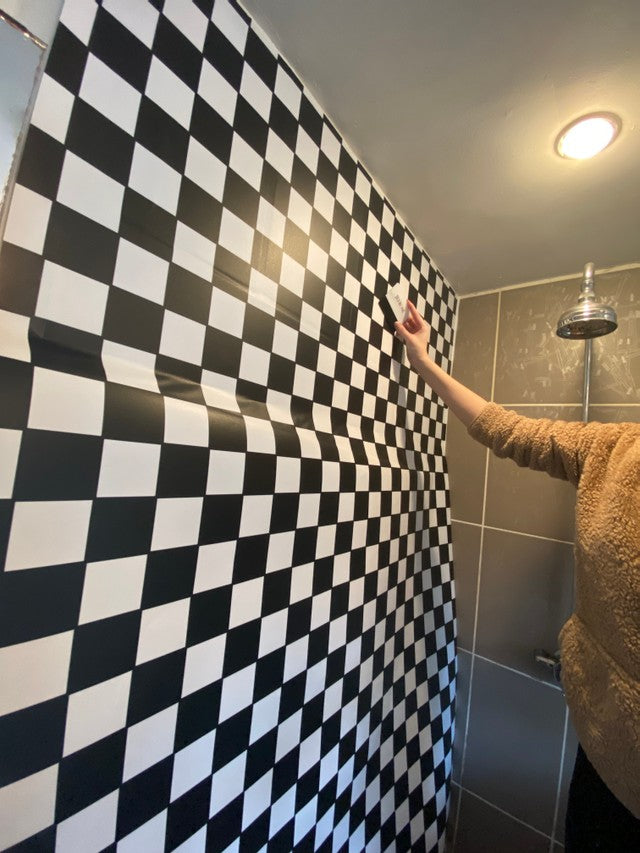
When it comes to applying your vinyl the trick is to apply small amounts at a time.
We suggest peeling no more than 2/3cm back first & then sticking the vinyl into place using your squeegee, by doing this you can make sure its on straight & no creases or bubbles will appear.
Continue slowly peeling 2/3 cm of the backing paper off & sticking down with your squeegee.
With shower application as it is a large area we recommend asking for a helping hand from a friend so you can make sure the application runs smoothly.
We find holding the vinyl up like this image shows and applying helps to avoid air bubbles forming or creasing.
Step 4- Continue applying...
Continue repeating step 3 until your shower is finished!
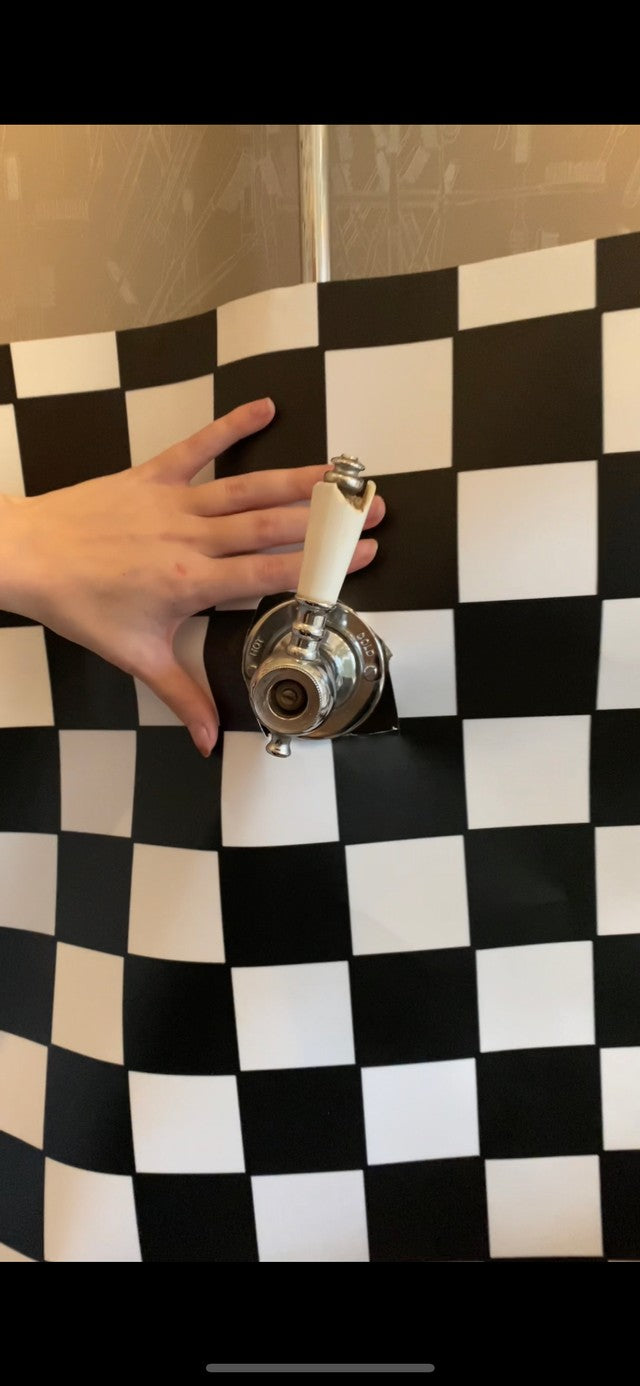
When you move onto the wall with the shower parts you need to mark the area where the shower will come through and slowly / gradually keep cutting parts of the vinyl away until the vinyl fits nicely with your shower.
IF you experience any air bubbles forming or creases you can peel back the vinyl and re apply it with your squeegee. ( a hairdryer will be your bestfriend when it comes to removing creases in the vinyl )
If you finish & still find some air bubbles simply pierce the top of the bubble with a sharp pin and use your squeegee to gently go around the air bubble pushing all air out of the hole you made.
Step 5 - Trimming
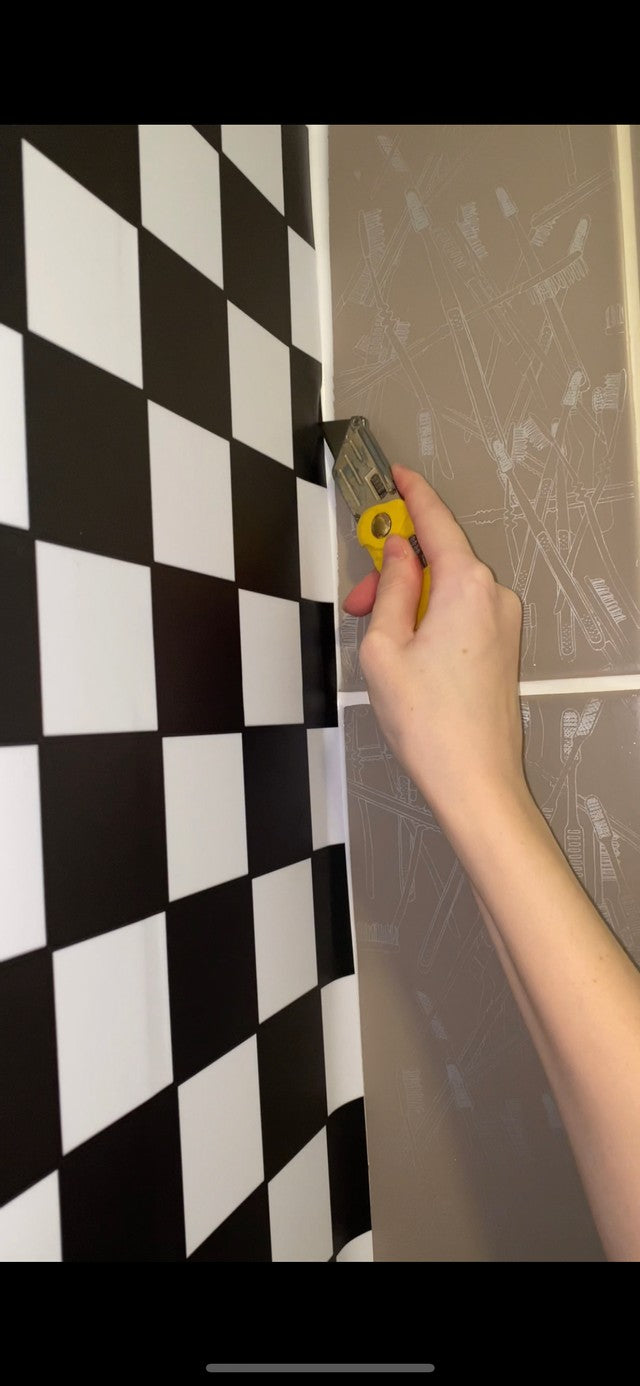
The next step for your shower is to trim any excess vinyl off.
Simply use a sharp blade to remove any overhang not needed.
Once you have done this its onto the final step, sealing.
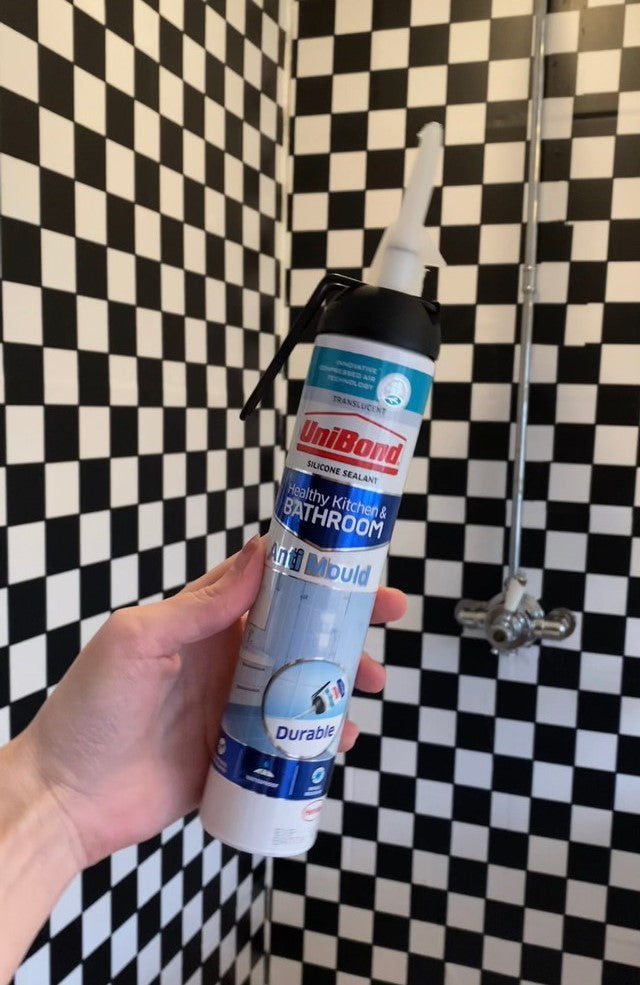
Step 6 - Sealing
When using vinyl in & around rooms with moisture it is always best to seal any edges & seams!
Most silicone is removable along with our vinyl so this still works great if you rent!
Simply use your sealant down all the joins / corners in the walls, all along the bottom & all along the top. This will ensure your vinyl stays put for longer & eliminates the risk of any water/steam getting underneath your vinyl.
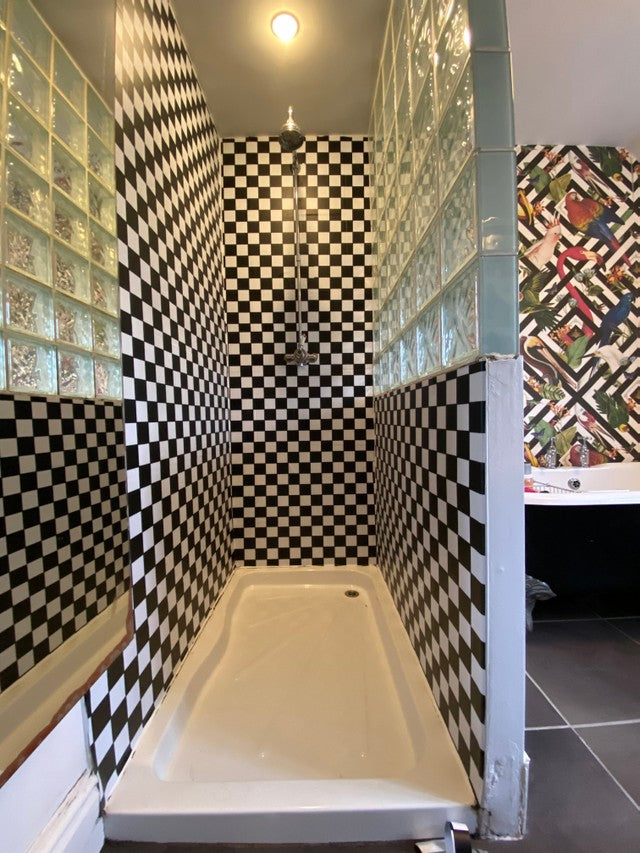
Welcome to your new shower!
Wait at least 24 hours for any silicone to dry & your new shower is ready!
If you would still like more help you can contact us hello@jesrose.co.uk or watch some of our video tutorials!
Grout lines & uneven tiles -
Our vinyl is only around 1mm thick so it unfortunately wont mask any deep grout lines, really uneven tiles or imperfections.
When choosing a busier pattern to work with you will barely be able to see the grout lines.
If your grout is really deep or you are choosing a block colour or less patterned design we would strongly advise you to purchase a sample first so you can see how it will look in person before commiting to a whole roll.

Still need help?
We have lots of video tutorials on vinyl application, you can view these by clicking the button below!
Any questions please email hello@jesrose.co.uk
