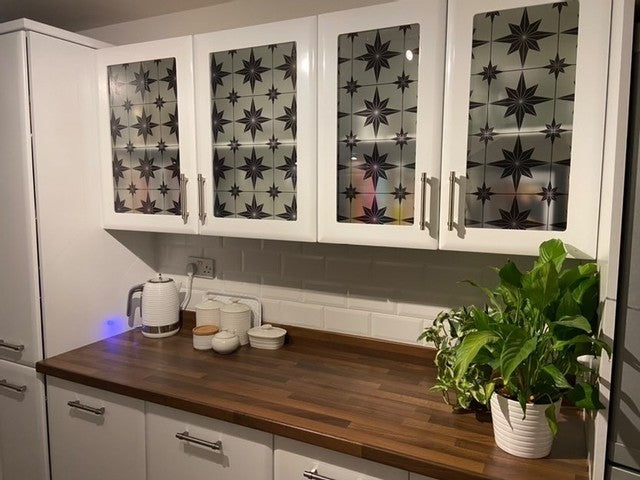
Window Tutorial
Alternative Way To Apply...
For larger windows or if you are not as confident using the dry application method check out our wet application video below!

Step 1- Samples
Step 1 - Purchase samples of your favourite designs & test them on your particular area to make sure the vinyl is suitable!
Be sure to test samples first to make sure the vinyl stays stuck down over a period of time.
Our standard vinyl is heat resistant up to 85 degrees & our floor & wall vinyl is heat resistant up to 110 degrees. All our vinyl is non flammable. If the vinyl gets hotter than the degrees stated the vinyl may warp & become unstuck.
Our window vinyl is like a frosted glass effect! Its semi transparent, still letting a little light in but is perfect if you need more privacy in your home.

Step 2 - Measuring
Once you have tested your samples & chosen your design you will need to measure your area.
If your area is an awkward size you can request a custom size from us.
To measure - calculate the width x length in CM.
You can also add on a few CM's each way to make sure you have enough to work with.

Step 3- Application
When it comes to applying your window vinyl the trick is to apply small amounts at a time. This eliminates any room for error as you are only working with a few cm at a time.
We suggest peeling no more than 2/3cm back first (like this photo shows) & then sticking the vinyl into place using your squeegee, by doing this you can make sure its on straight.
You can peel back the vinyl if its not on straight and re apply but doing this too much may ruin the adhesive underneath.

Step 4- Continue applying..
Now continue using your squeegee and peeling back 2/3cm of the paper away from the vinyl & sticking down.
IF you experience any air bubbles forming or creases you can peel back the vinyl and re apply it with your squeegee.
If you finish & still find some air bubbles simply pierce the top of the bubble with a sharp pin and use your squeegee to gently go around the air bubble pushing all air out of the hole you made.

Step 5- Trimming any excess.
The final step for your new window is to trim any excess vinyl off.
Simply use a sharp blade to remove any overhang not needed.

Step 6 - Finishing touches..
Once you have completed all of the above steps your new window is ready!
If you would still like more help you can contact us hello@jesrose.co.uk or watch some of our video tutorials!
